Early Release Guard
Set up your first project
A project is one deployable thing inside a repository. On the Projects tab, a repository with none yet offers "Set up project". You will also pick how its releases are identified. That choice is made once, by whichever project is created first in that repository, and there's no way to change it afterward.
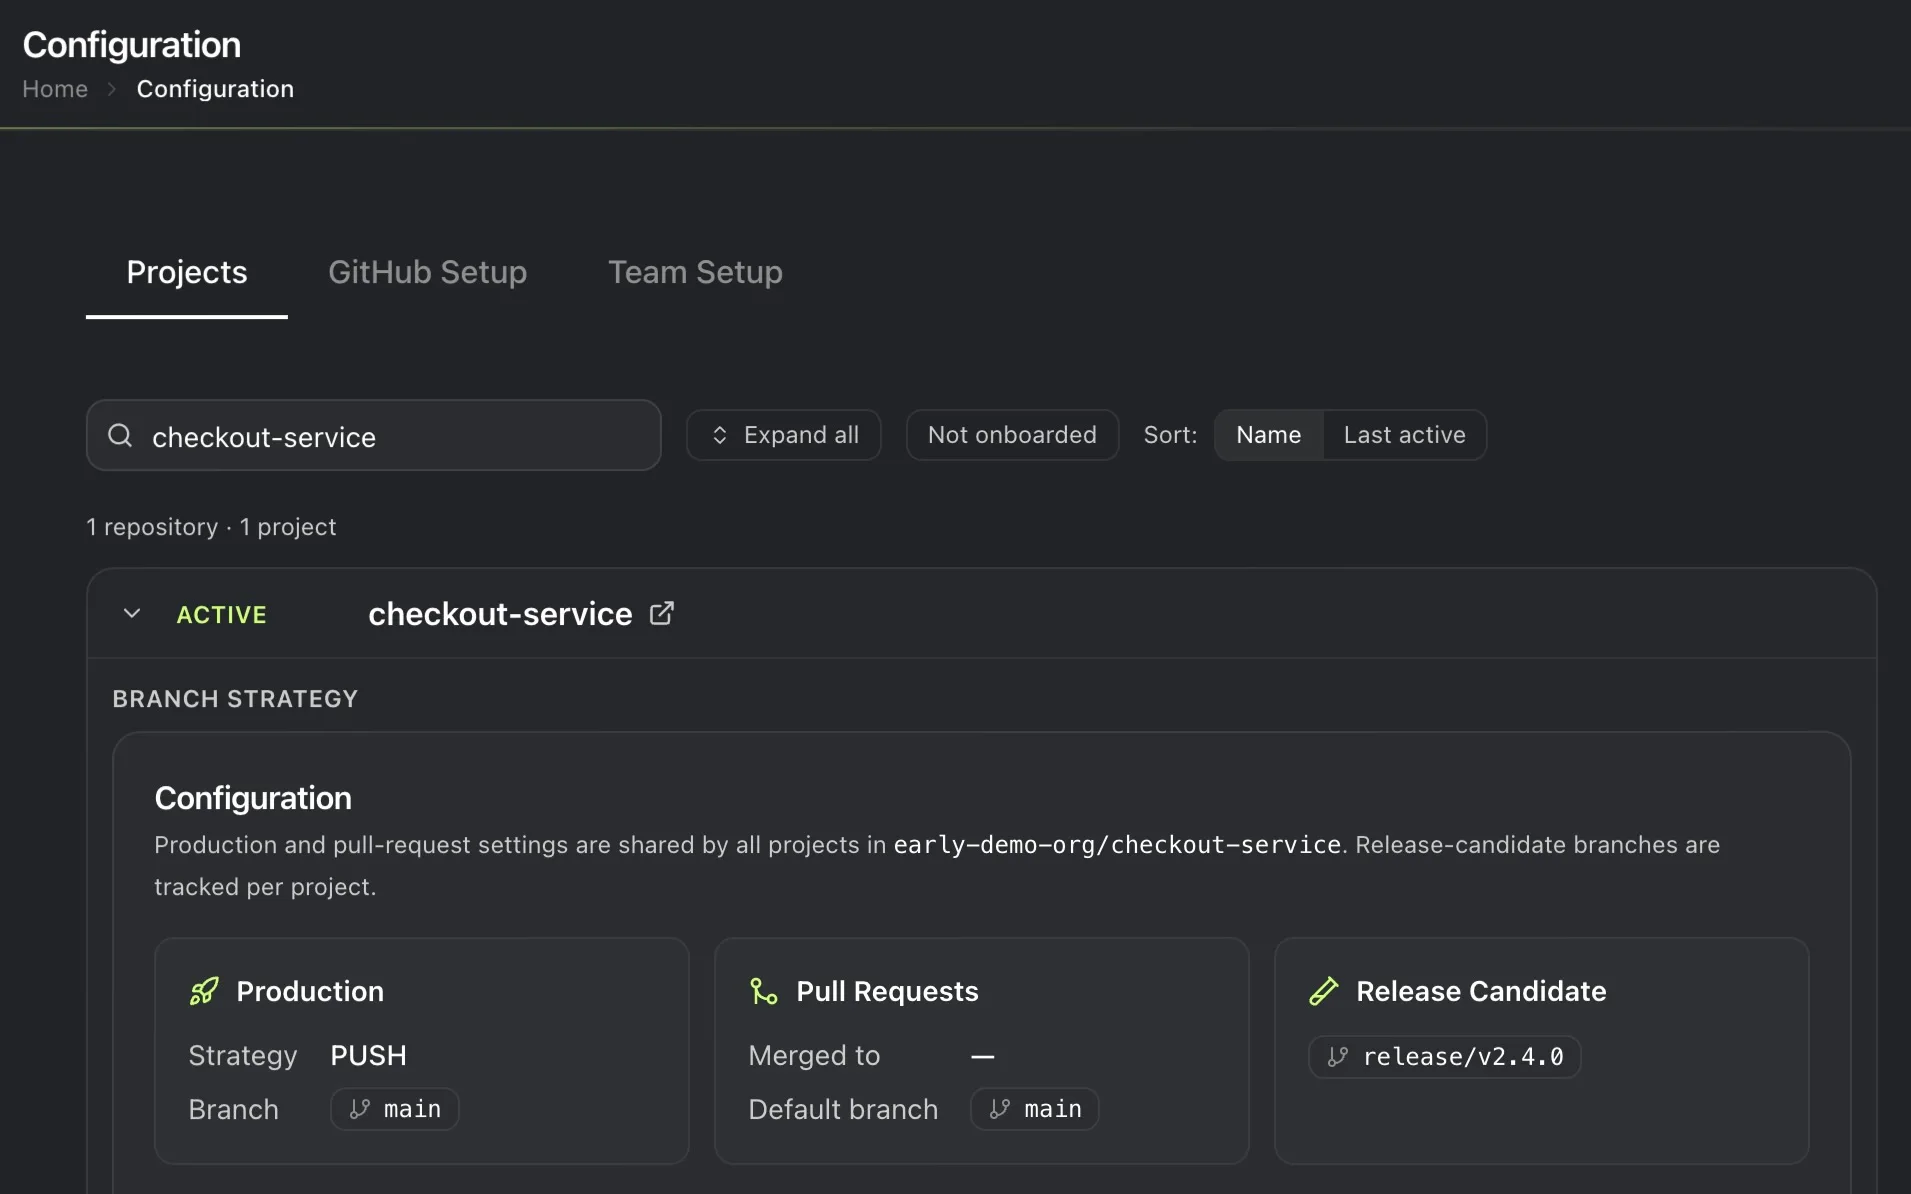
What this does
A repository can hold more than one project. Each folder that ships independently, most commonly in a monorepo, gets its own.
Prerequisites
At least one repository watched.
Steps
-
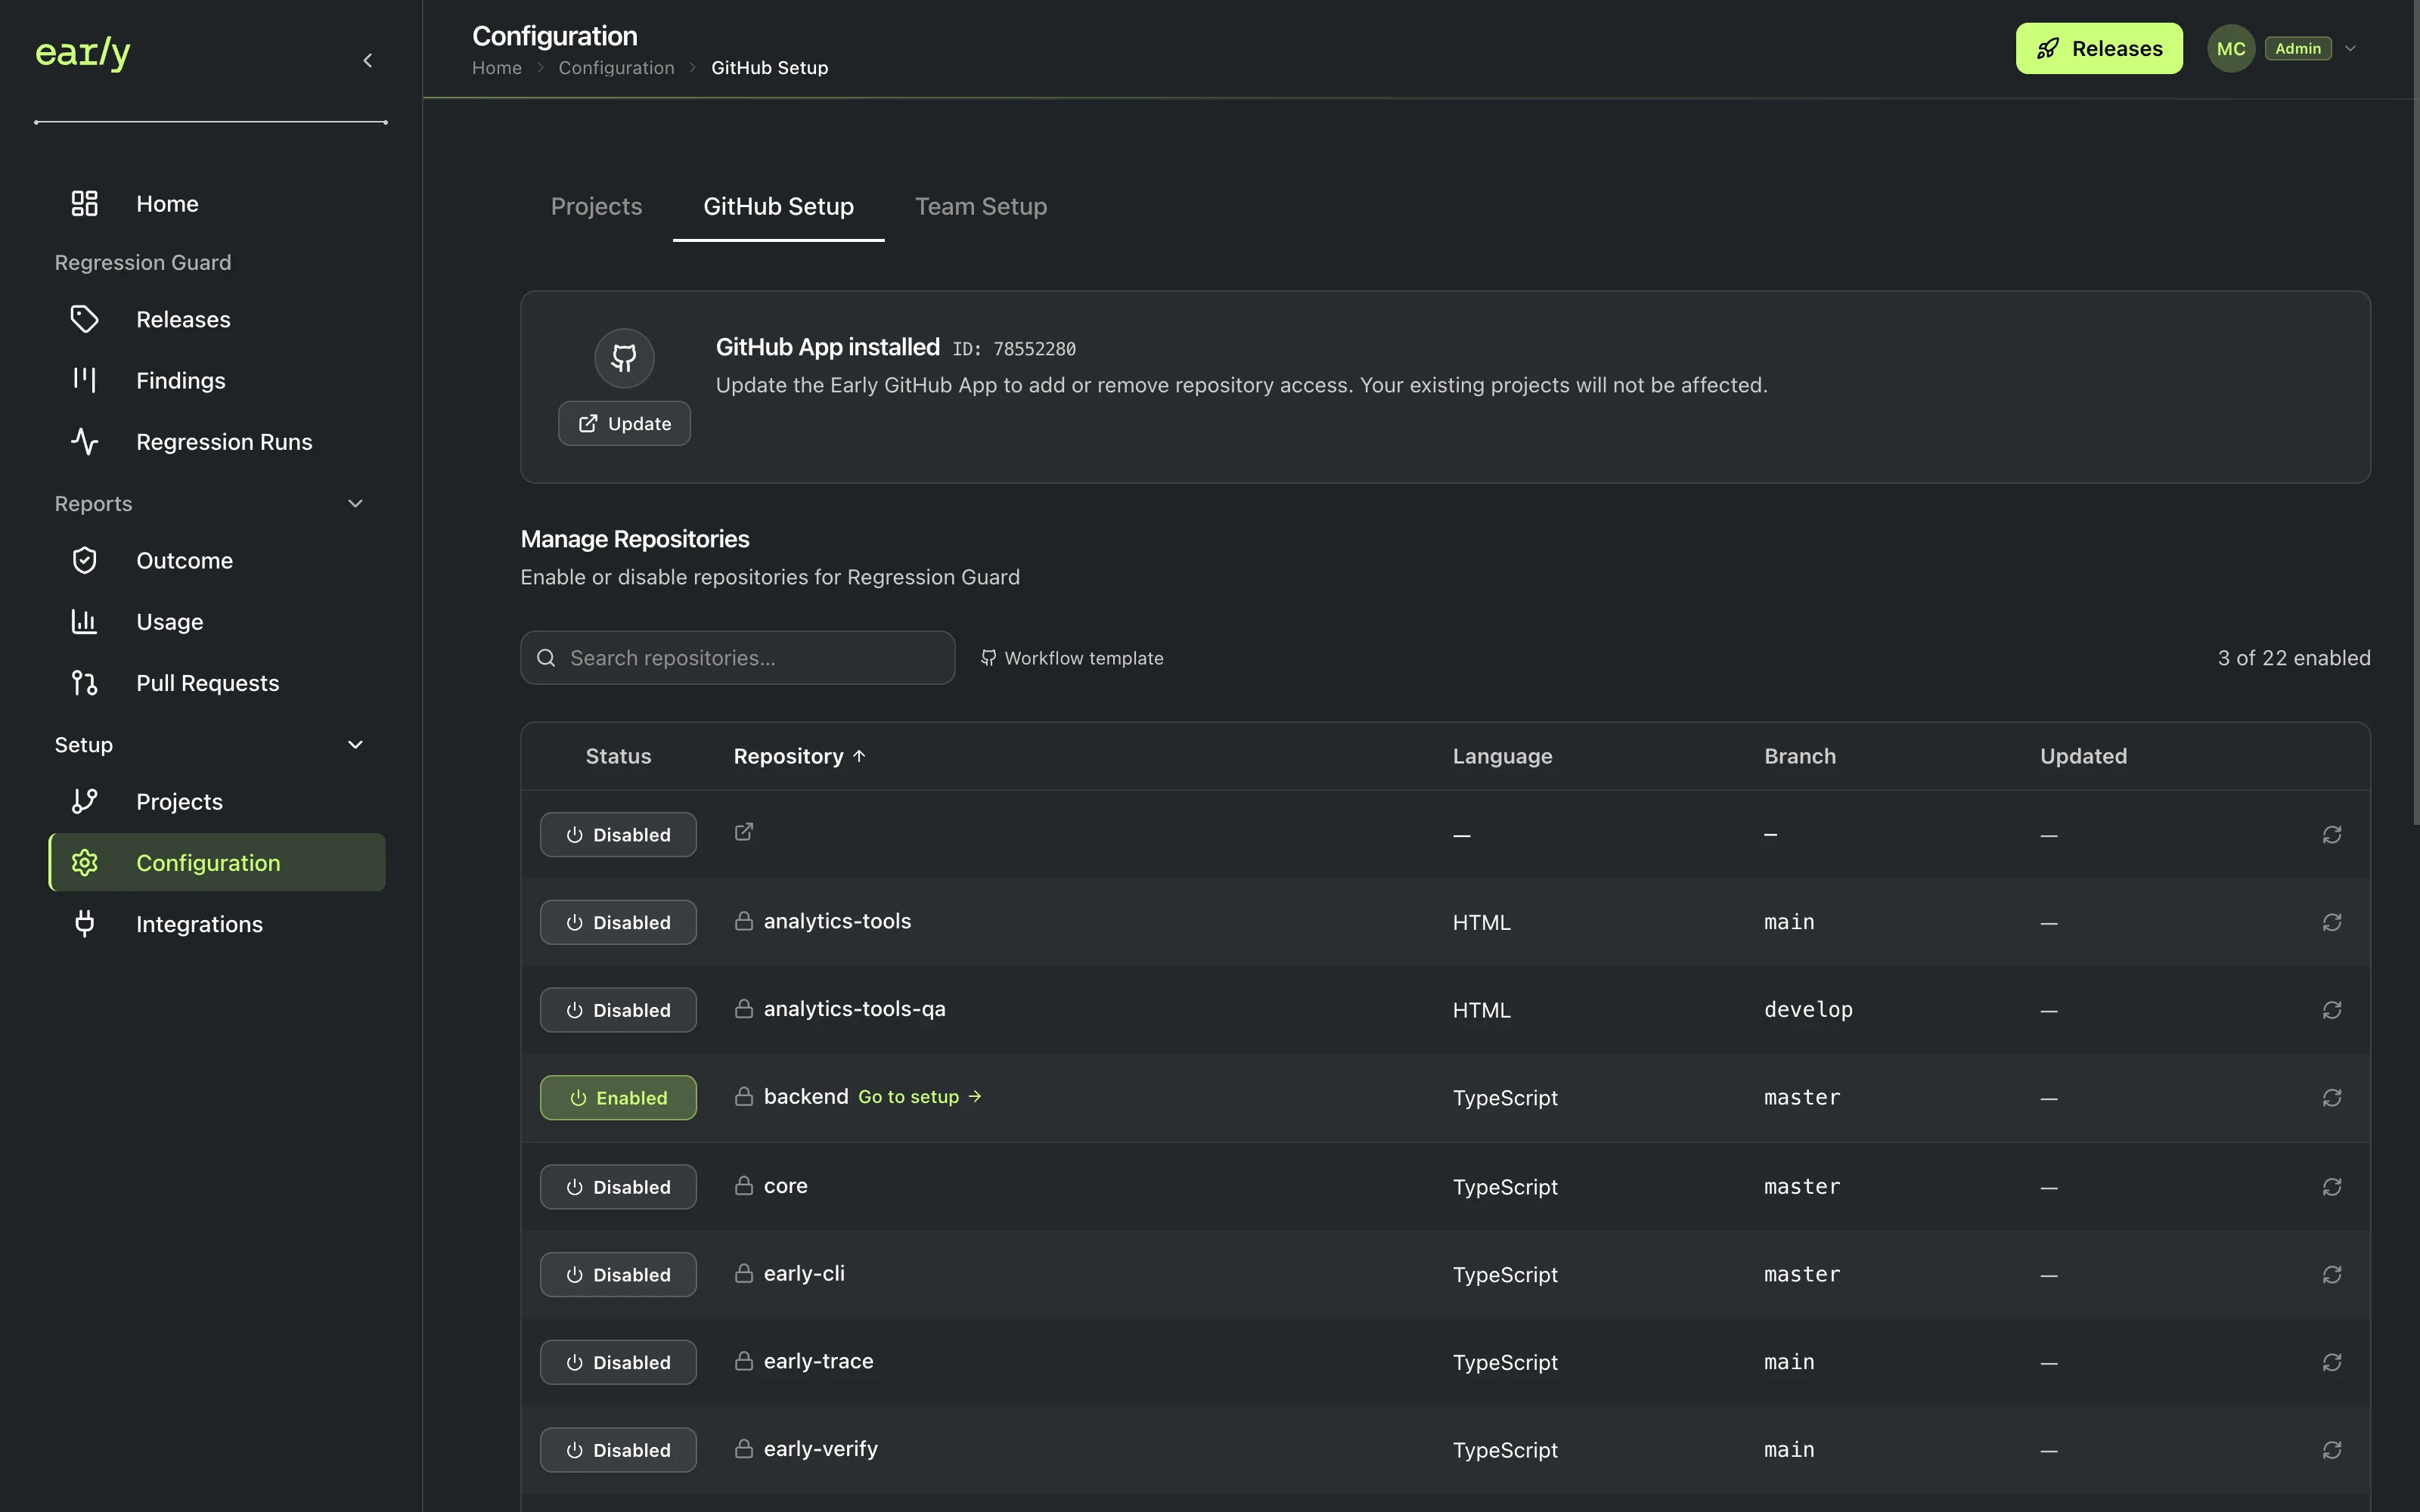
Open Setup in the left navigation, then the GitHub Setup tab, and enable the repository you want to set up a project for.
-
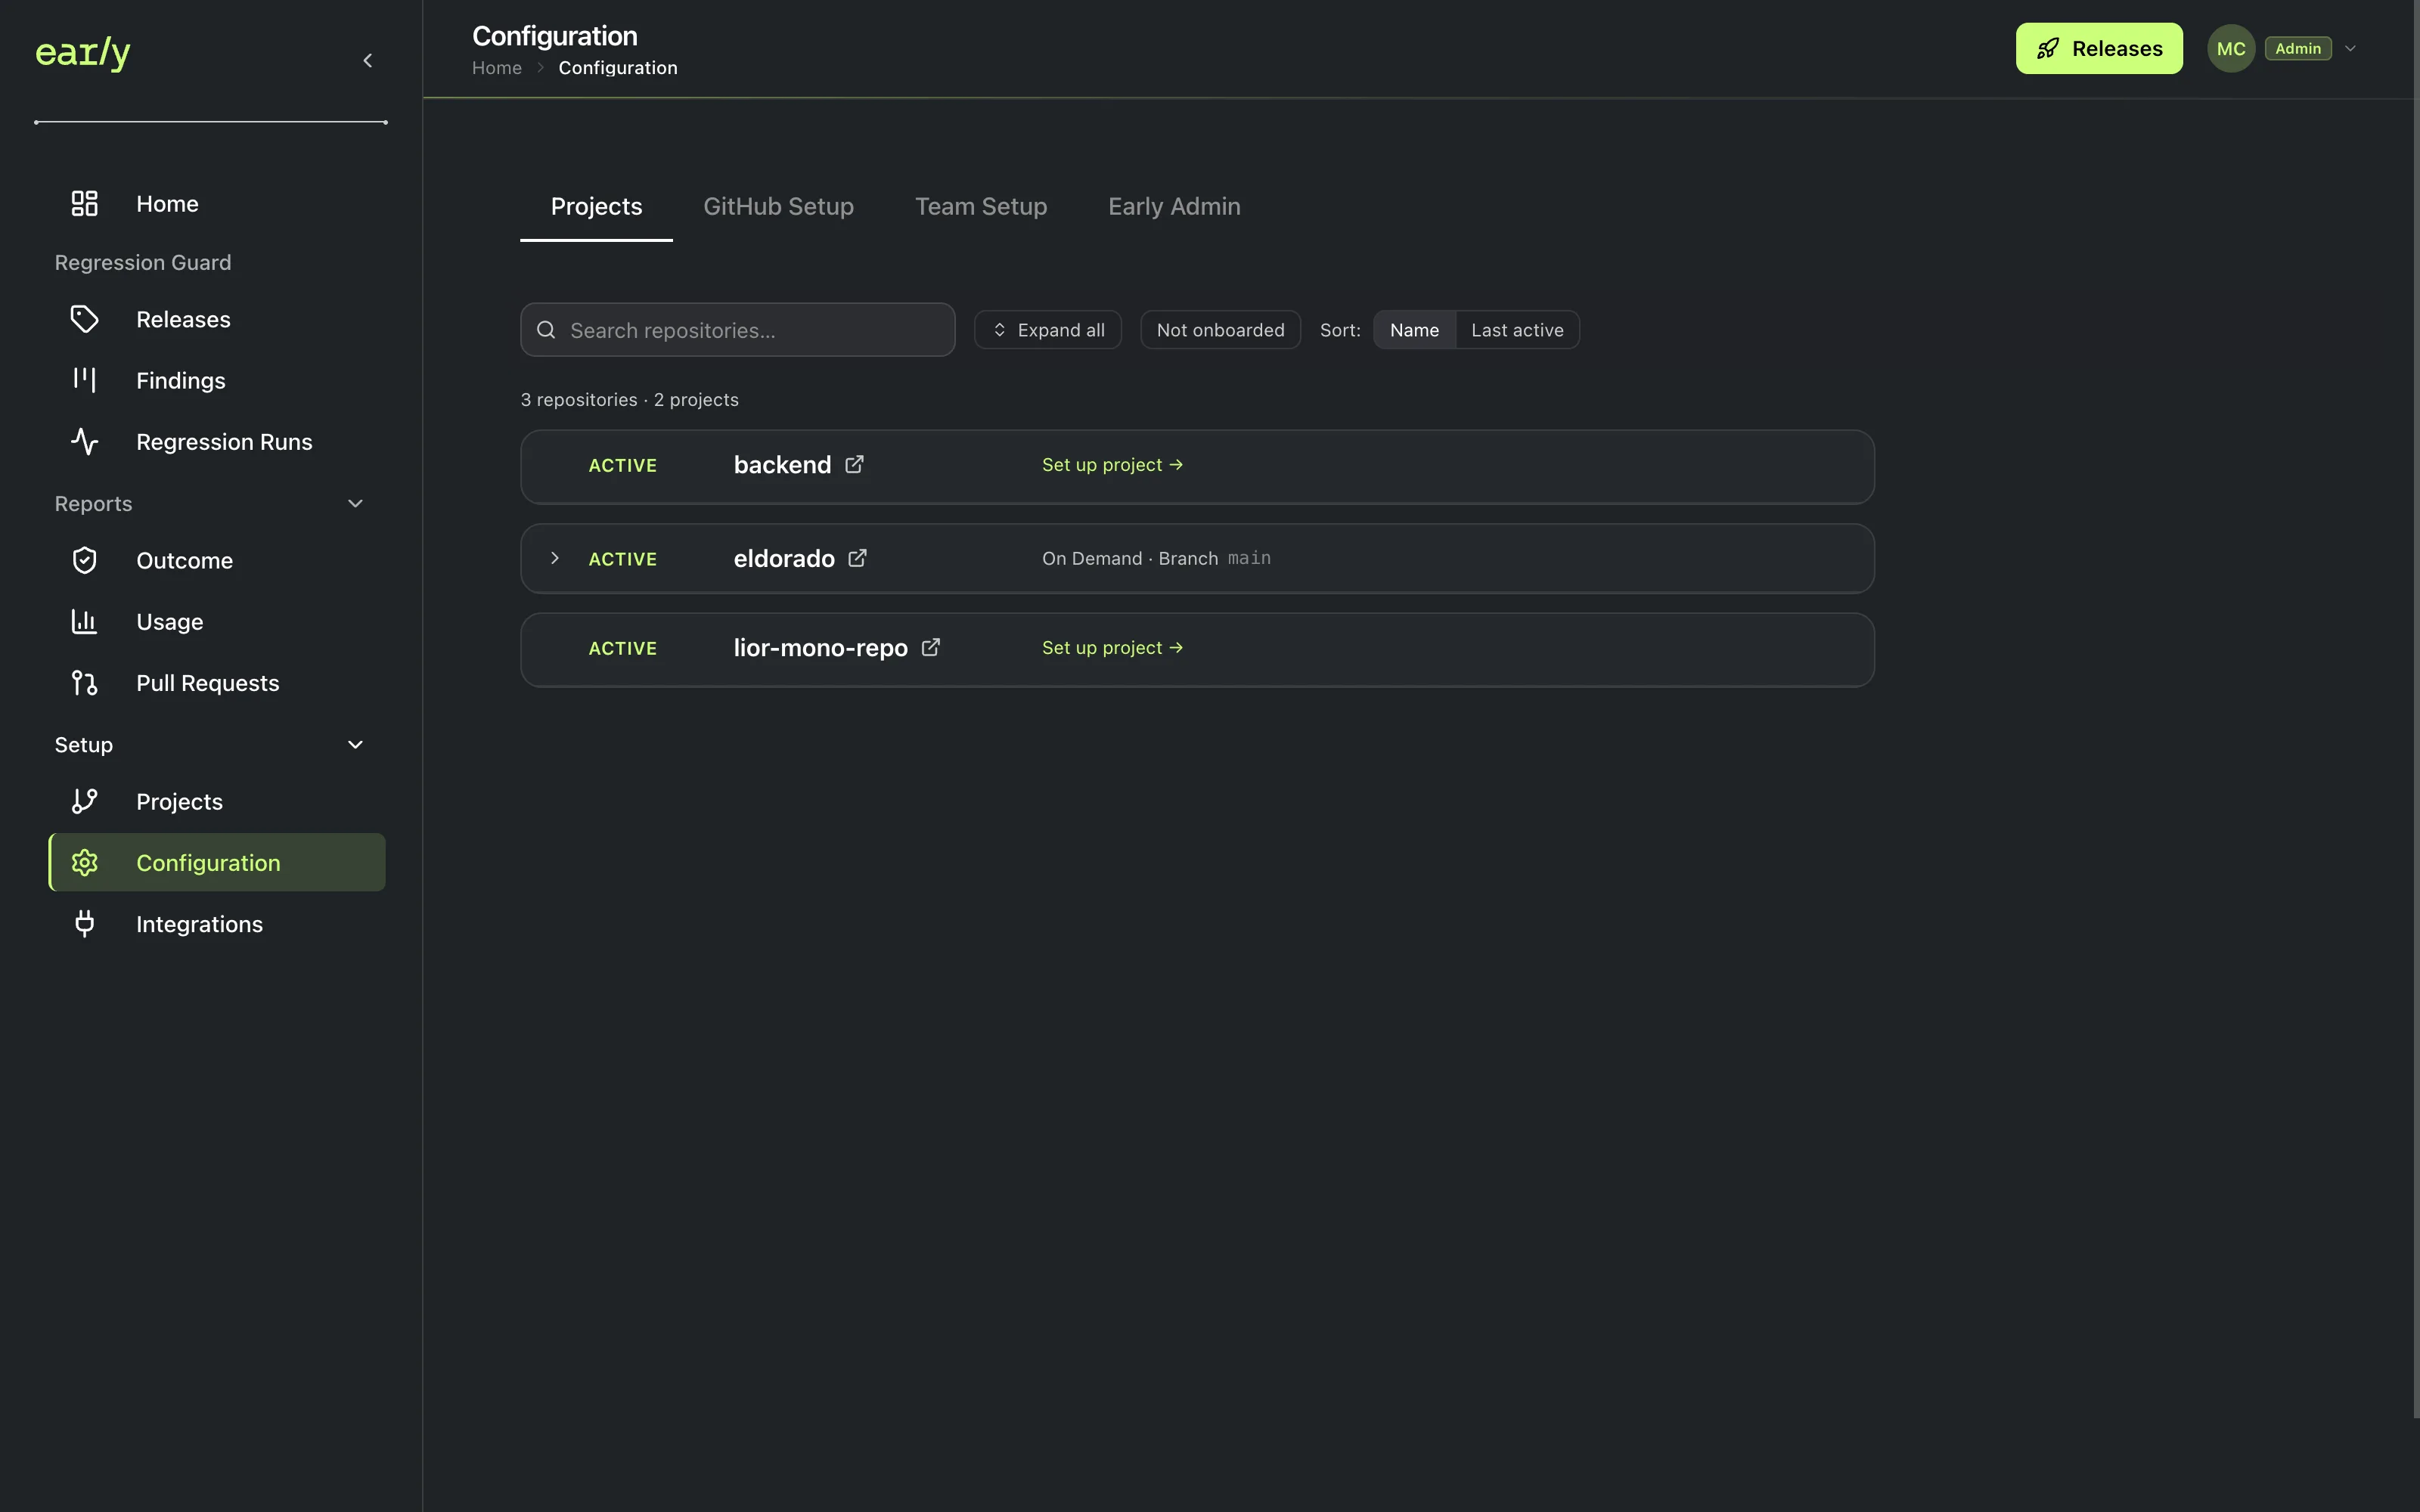
Still in Setup, switch to the Projects tab. Next to a repository with no project yet, click Set up project.
-
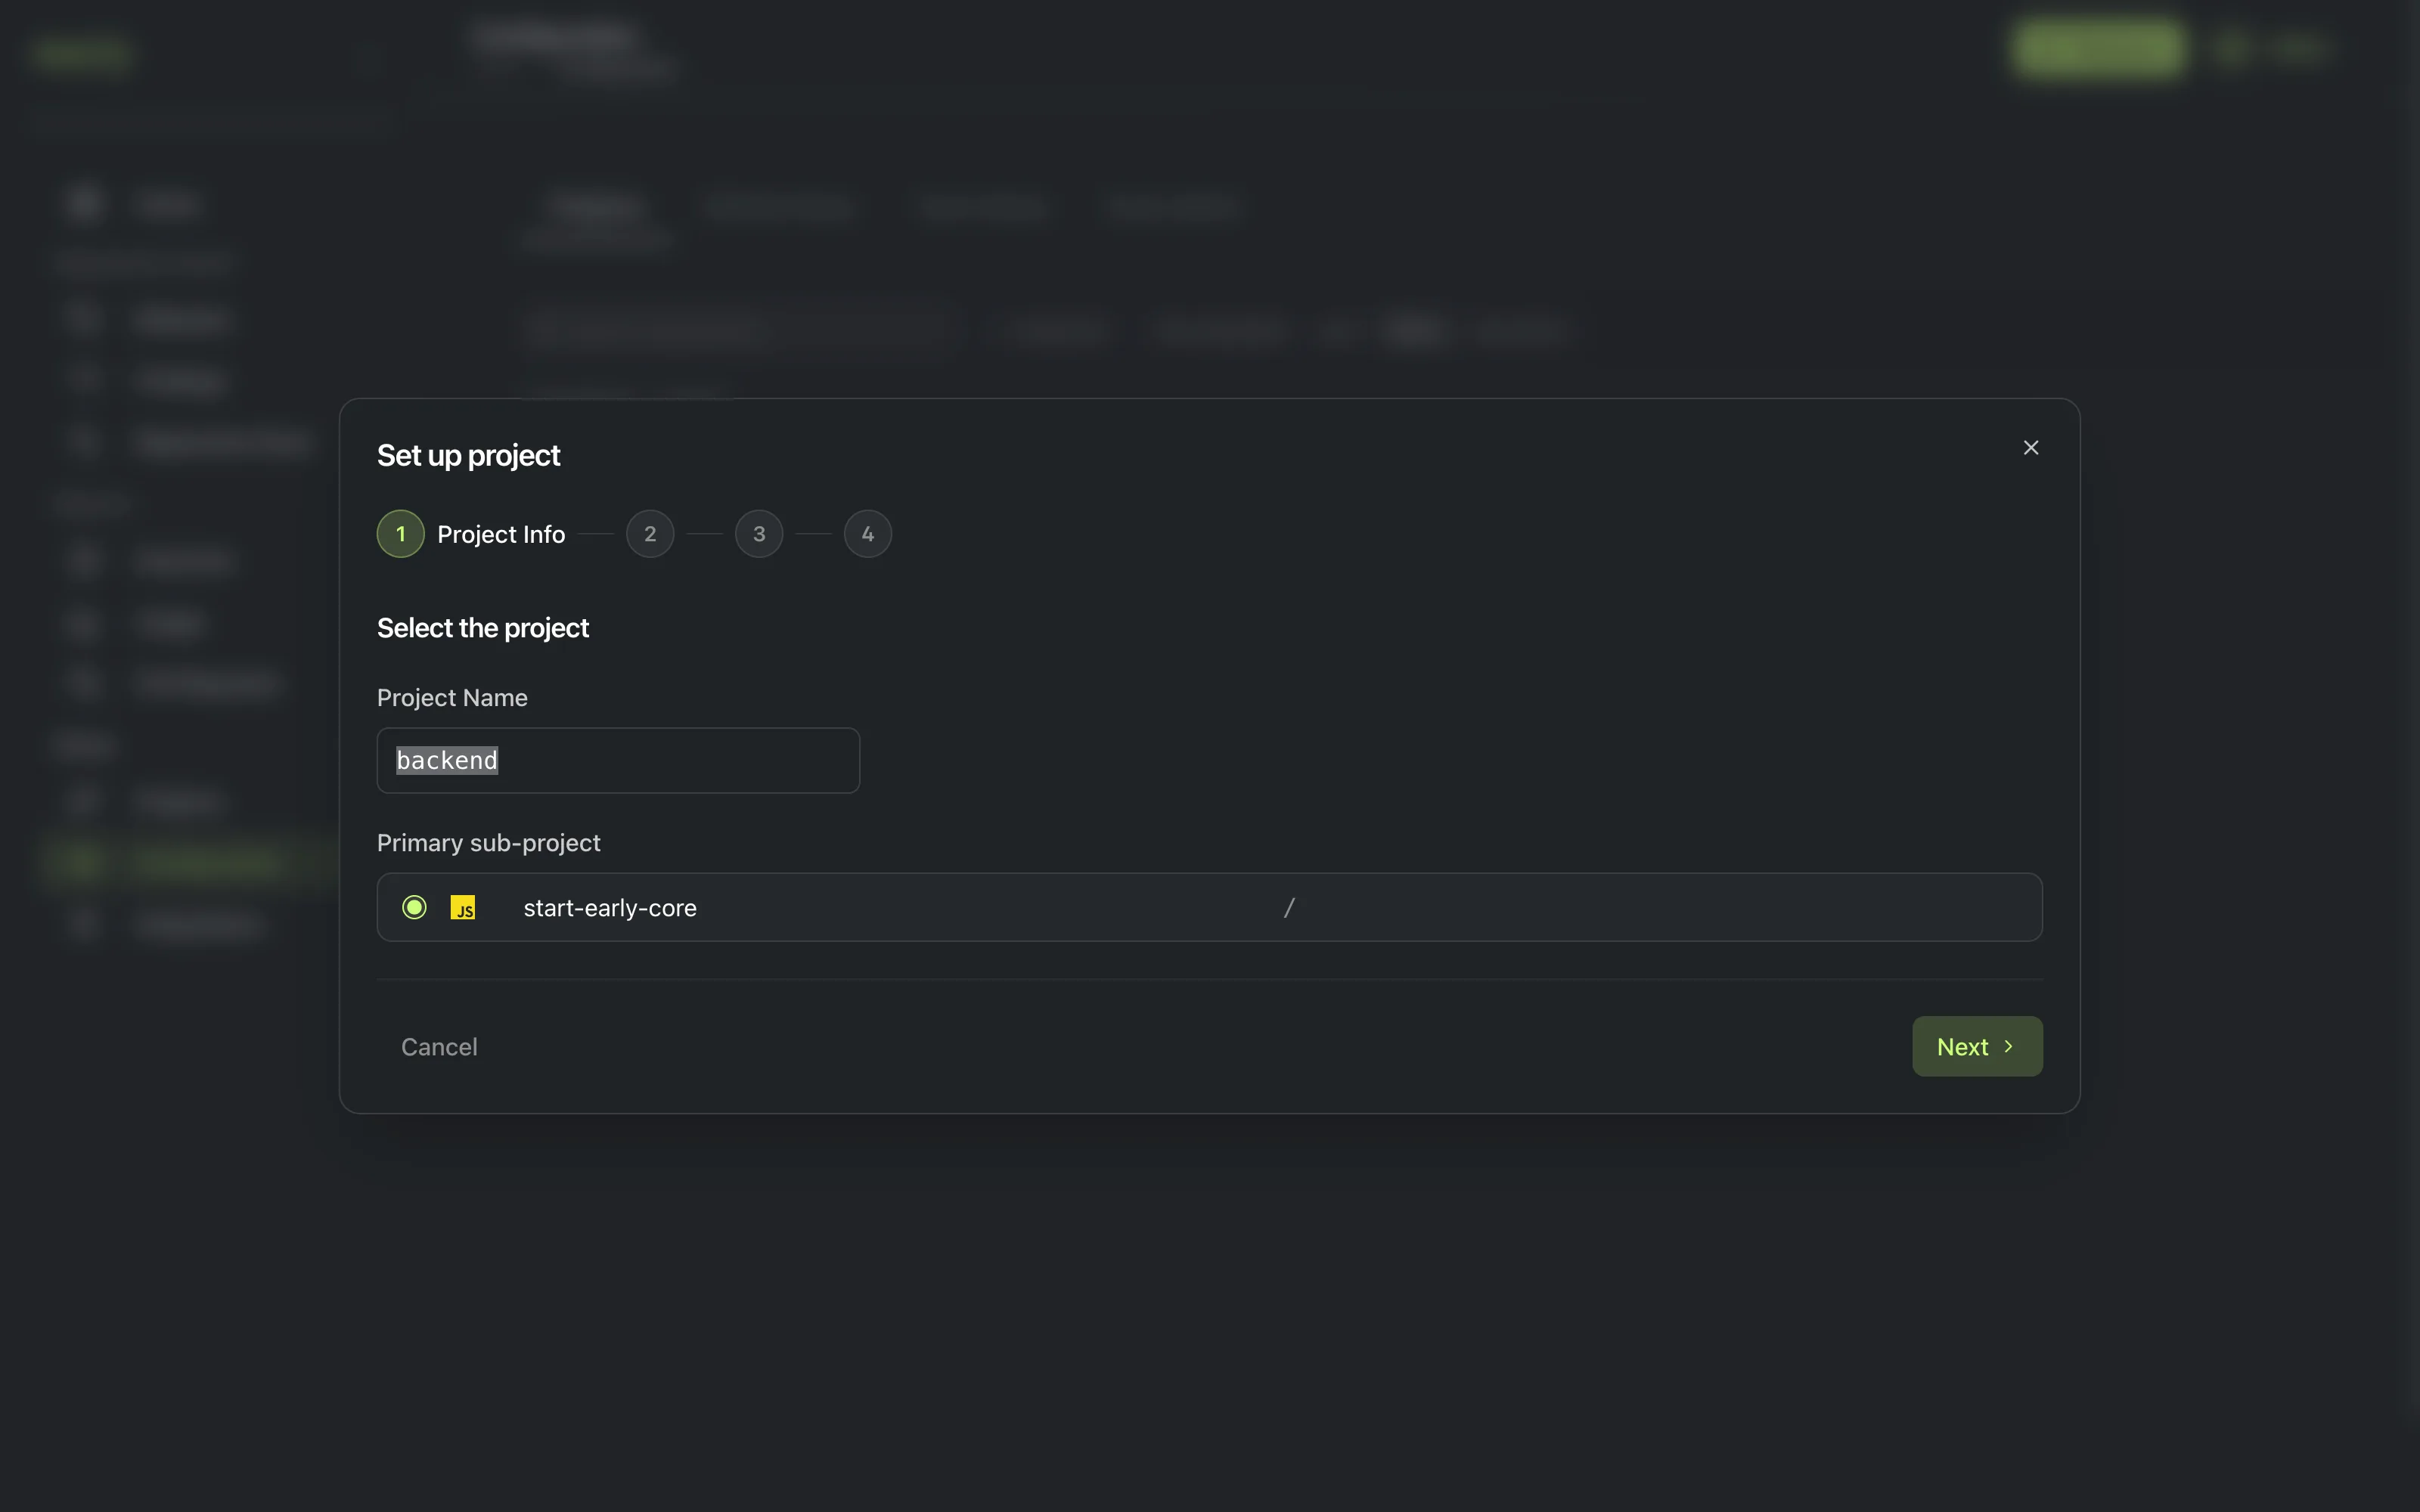
Setting up a project walks you through four steps:
a. Project Info. Choose the project’s root. For a repository with a single project, this is usually the repository root itself. In a monorepo, it can be any folder inside it. Click Next.
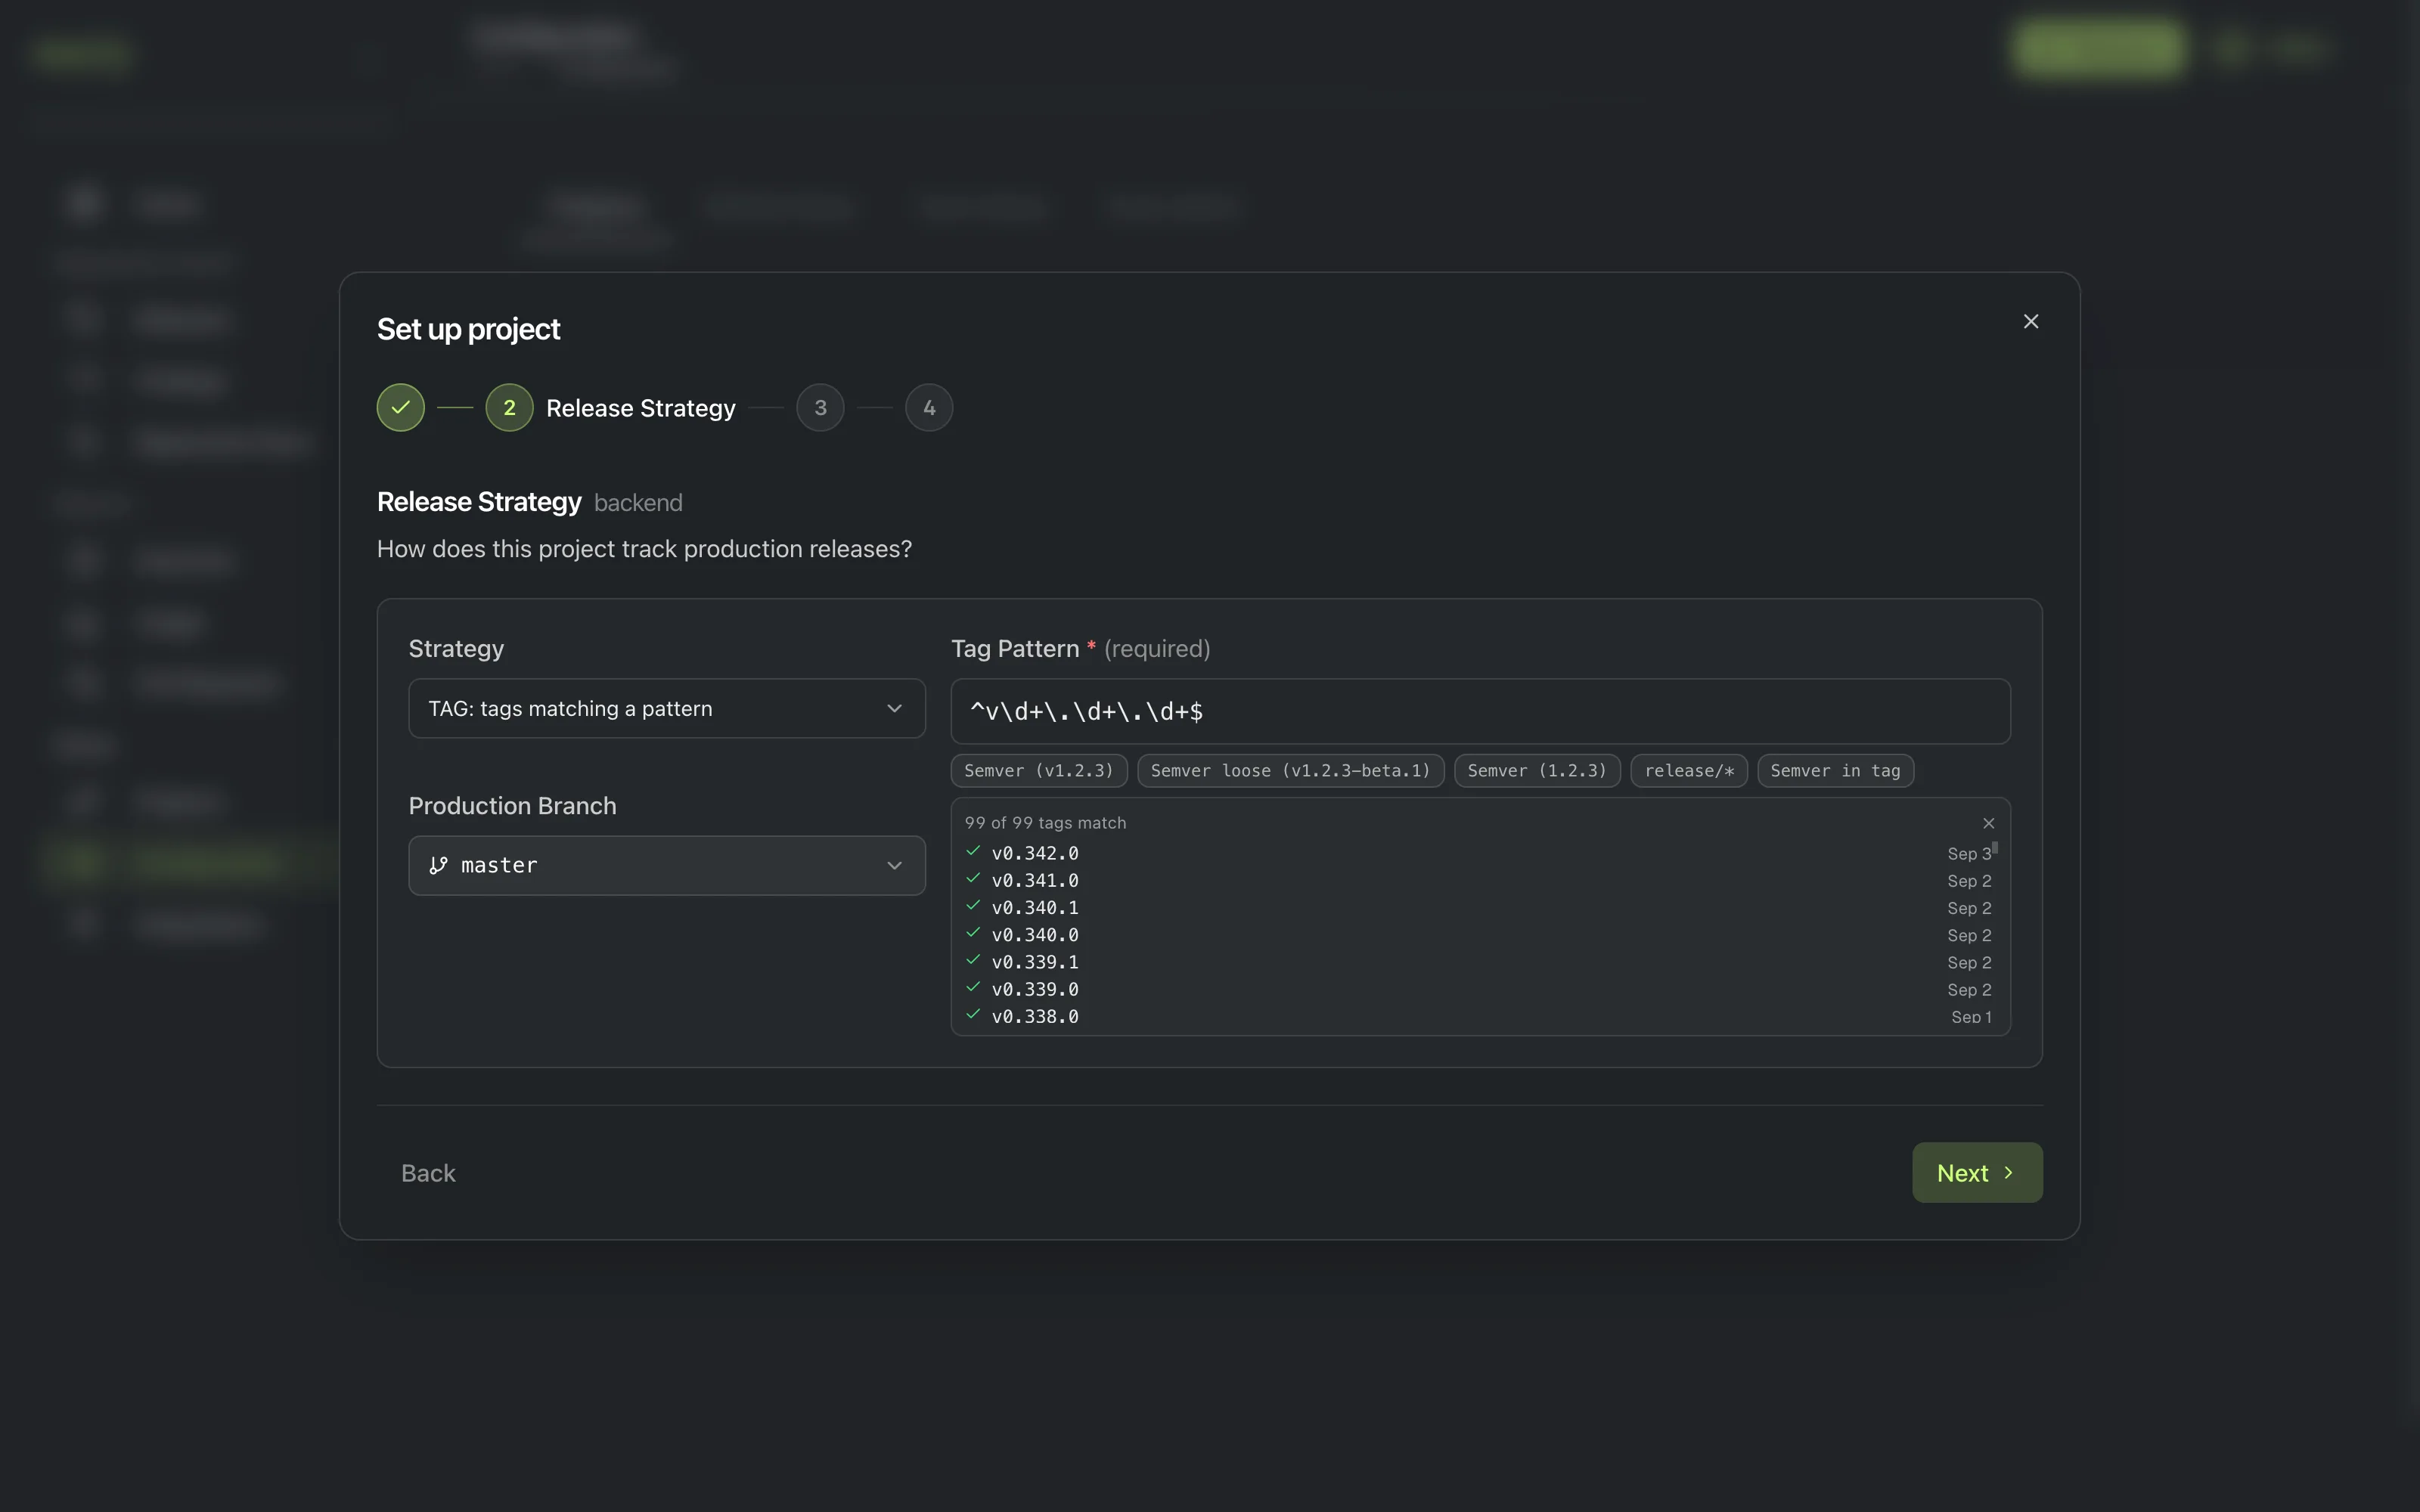
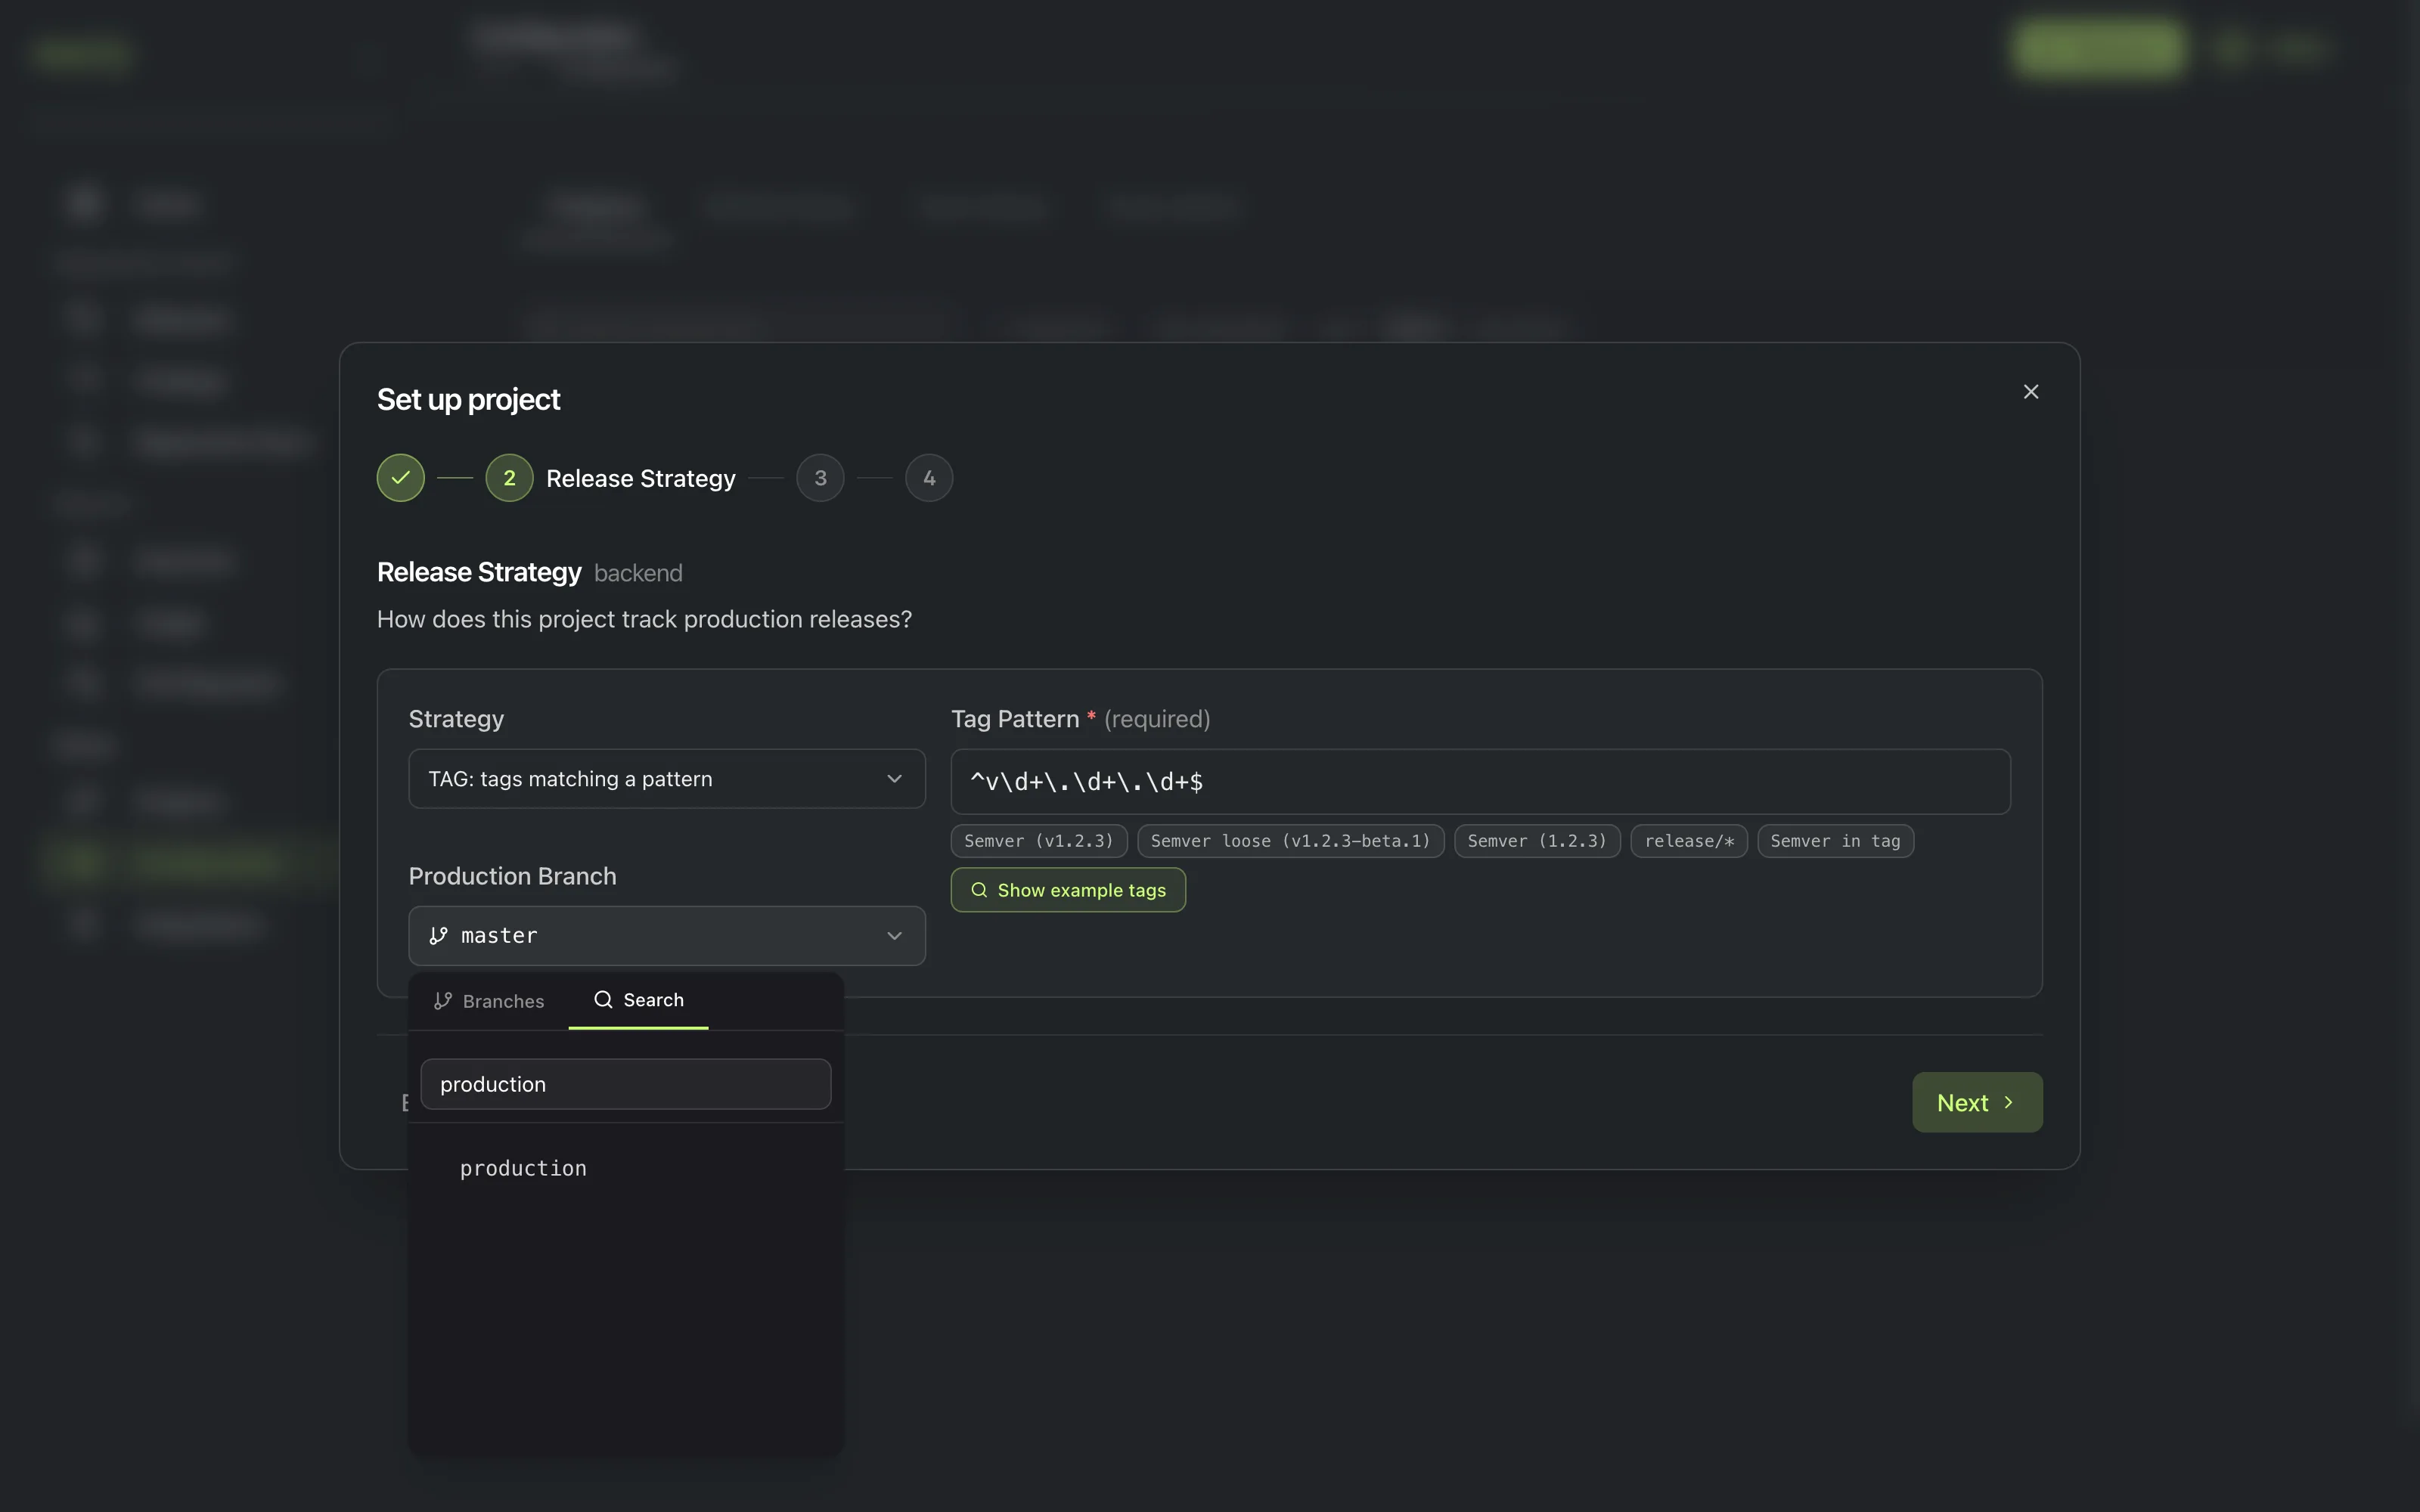
b. Release Strategy. Choose how this project tracks production releases: by tag (a release is cut from a tag) or by branch (a release is cut from a branch). If you choose tag, click Show example tags to see real tags from the repository. A matching tag pattern fills in automatically. Then choose the branch you use for production; if you don’t see it in the list, search for it. Click Next.
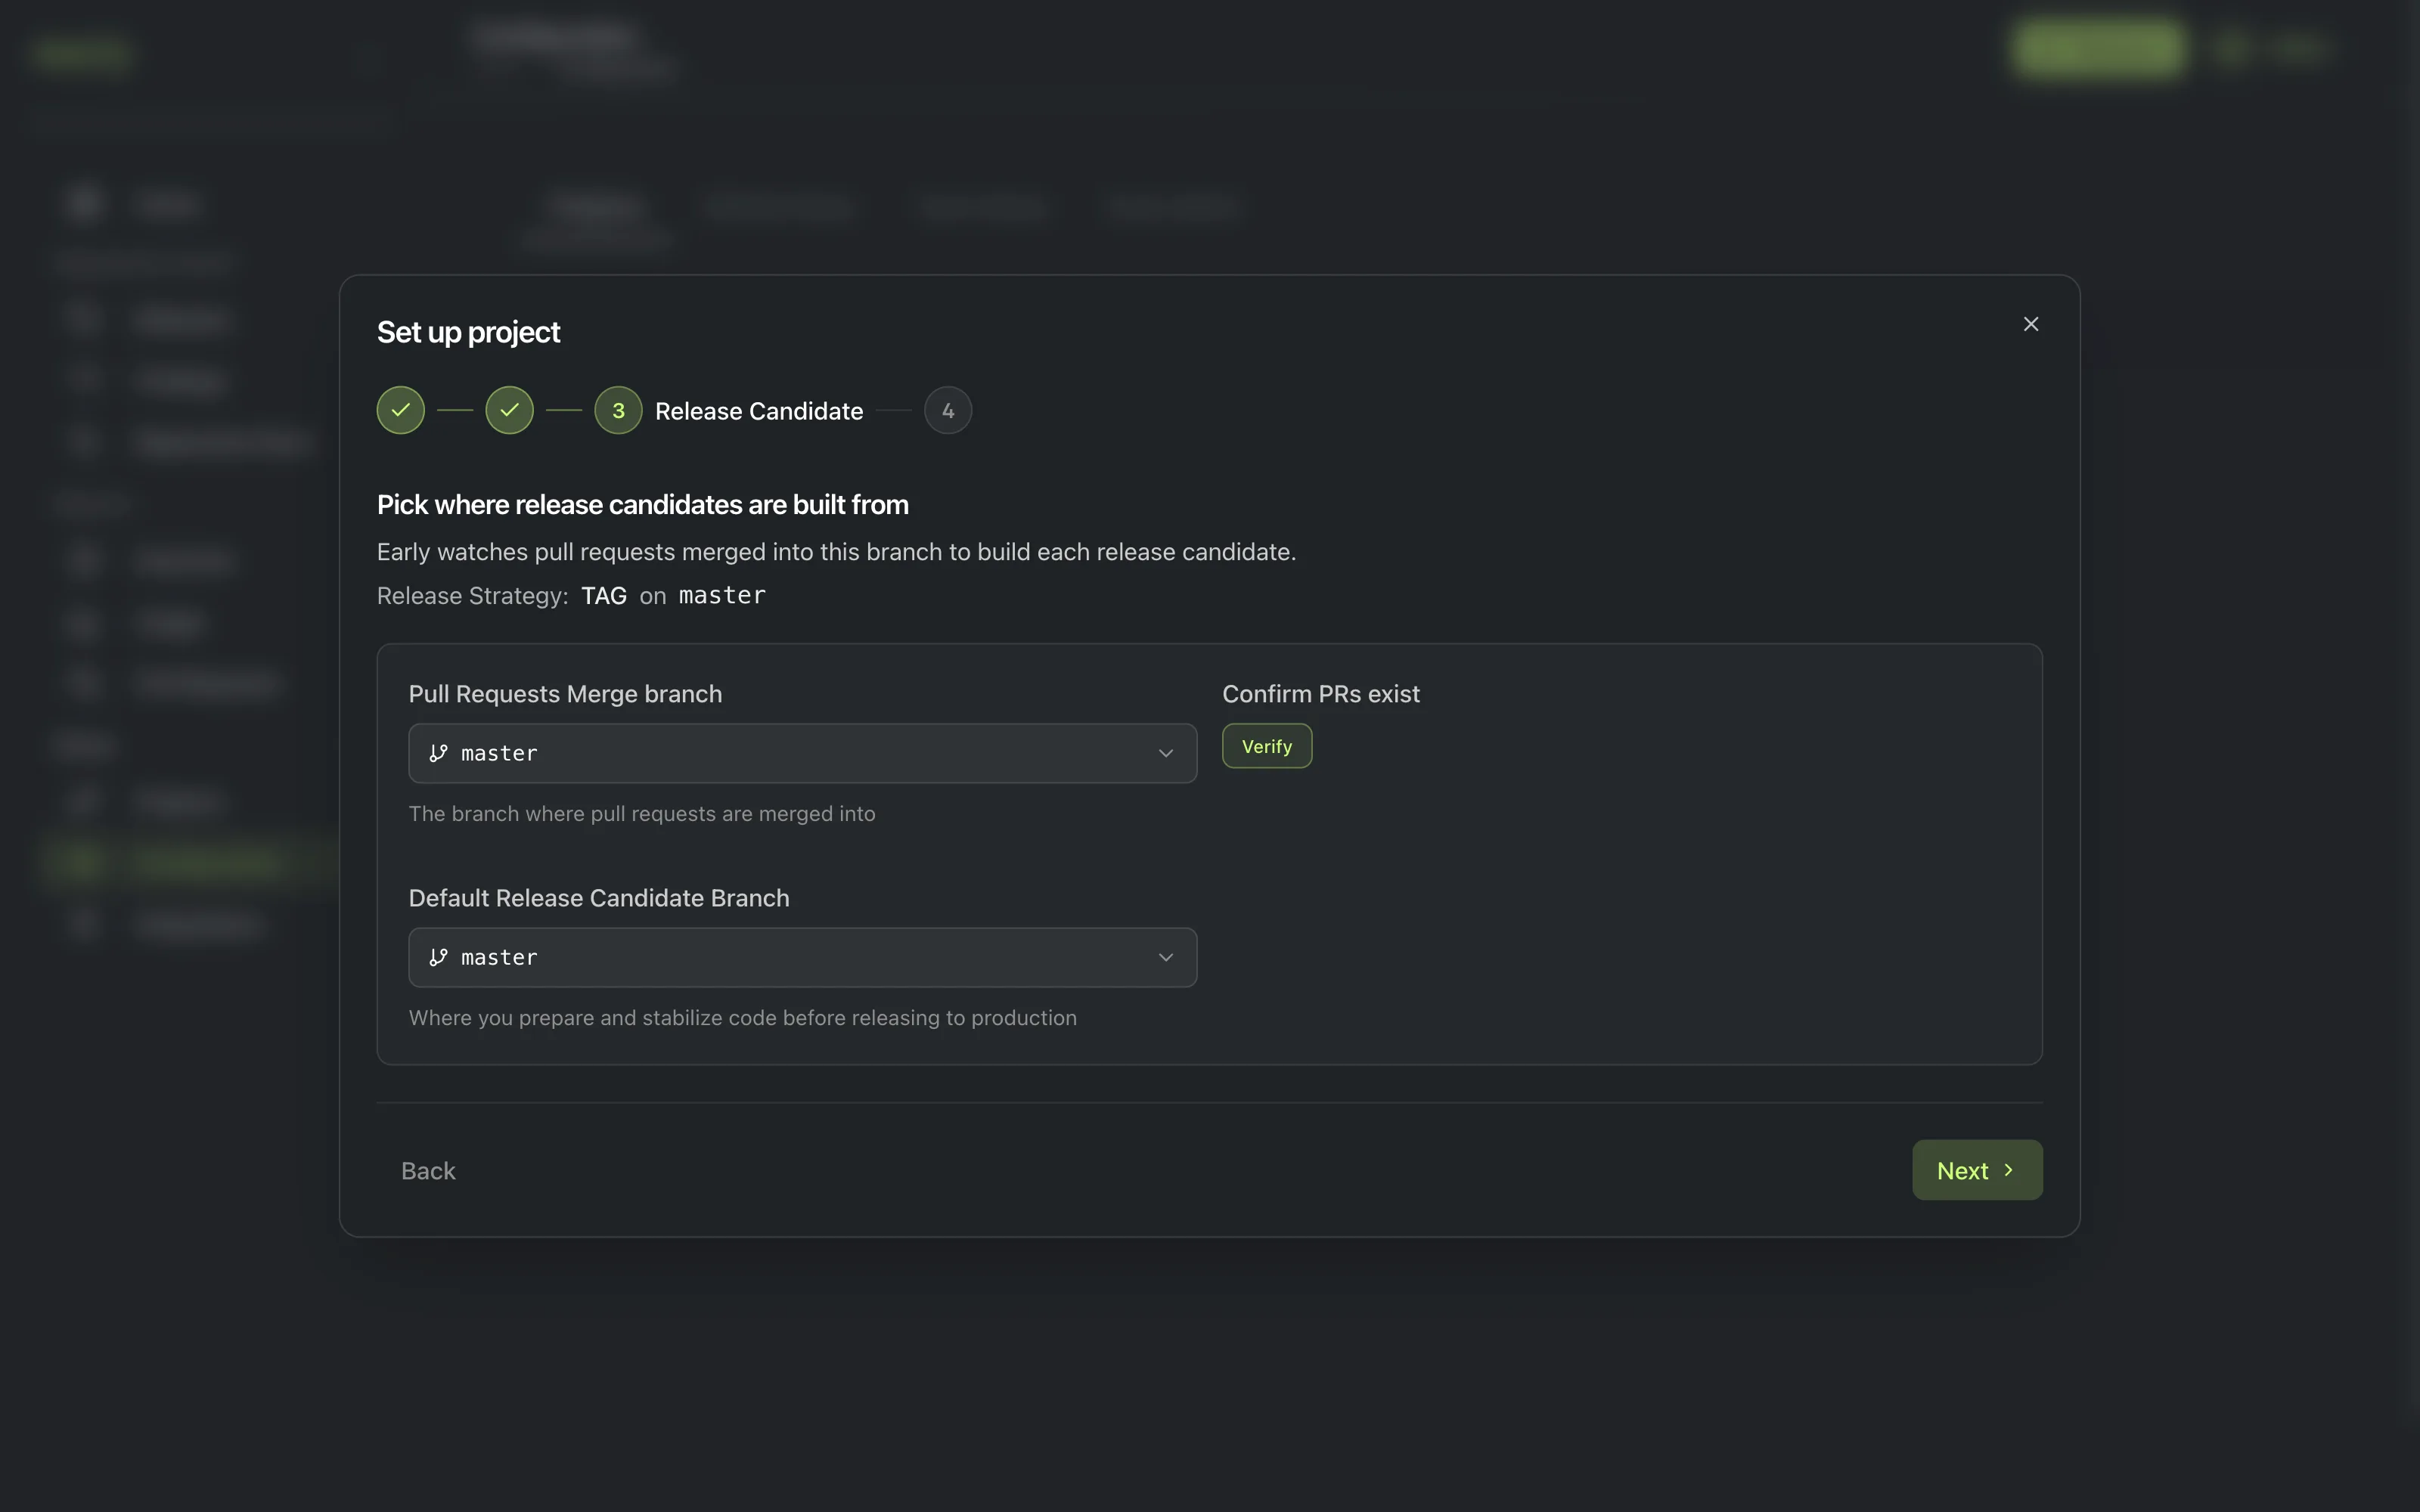
c. Release Candidate. Pick the branch your team merges pull requests into. This is what Early watches to build each release candidate. If your team stabilizes code on a separate branch before it reaches production, set that branch as the Default Release Candidate Branch instead. Click Next.
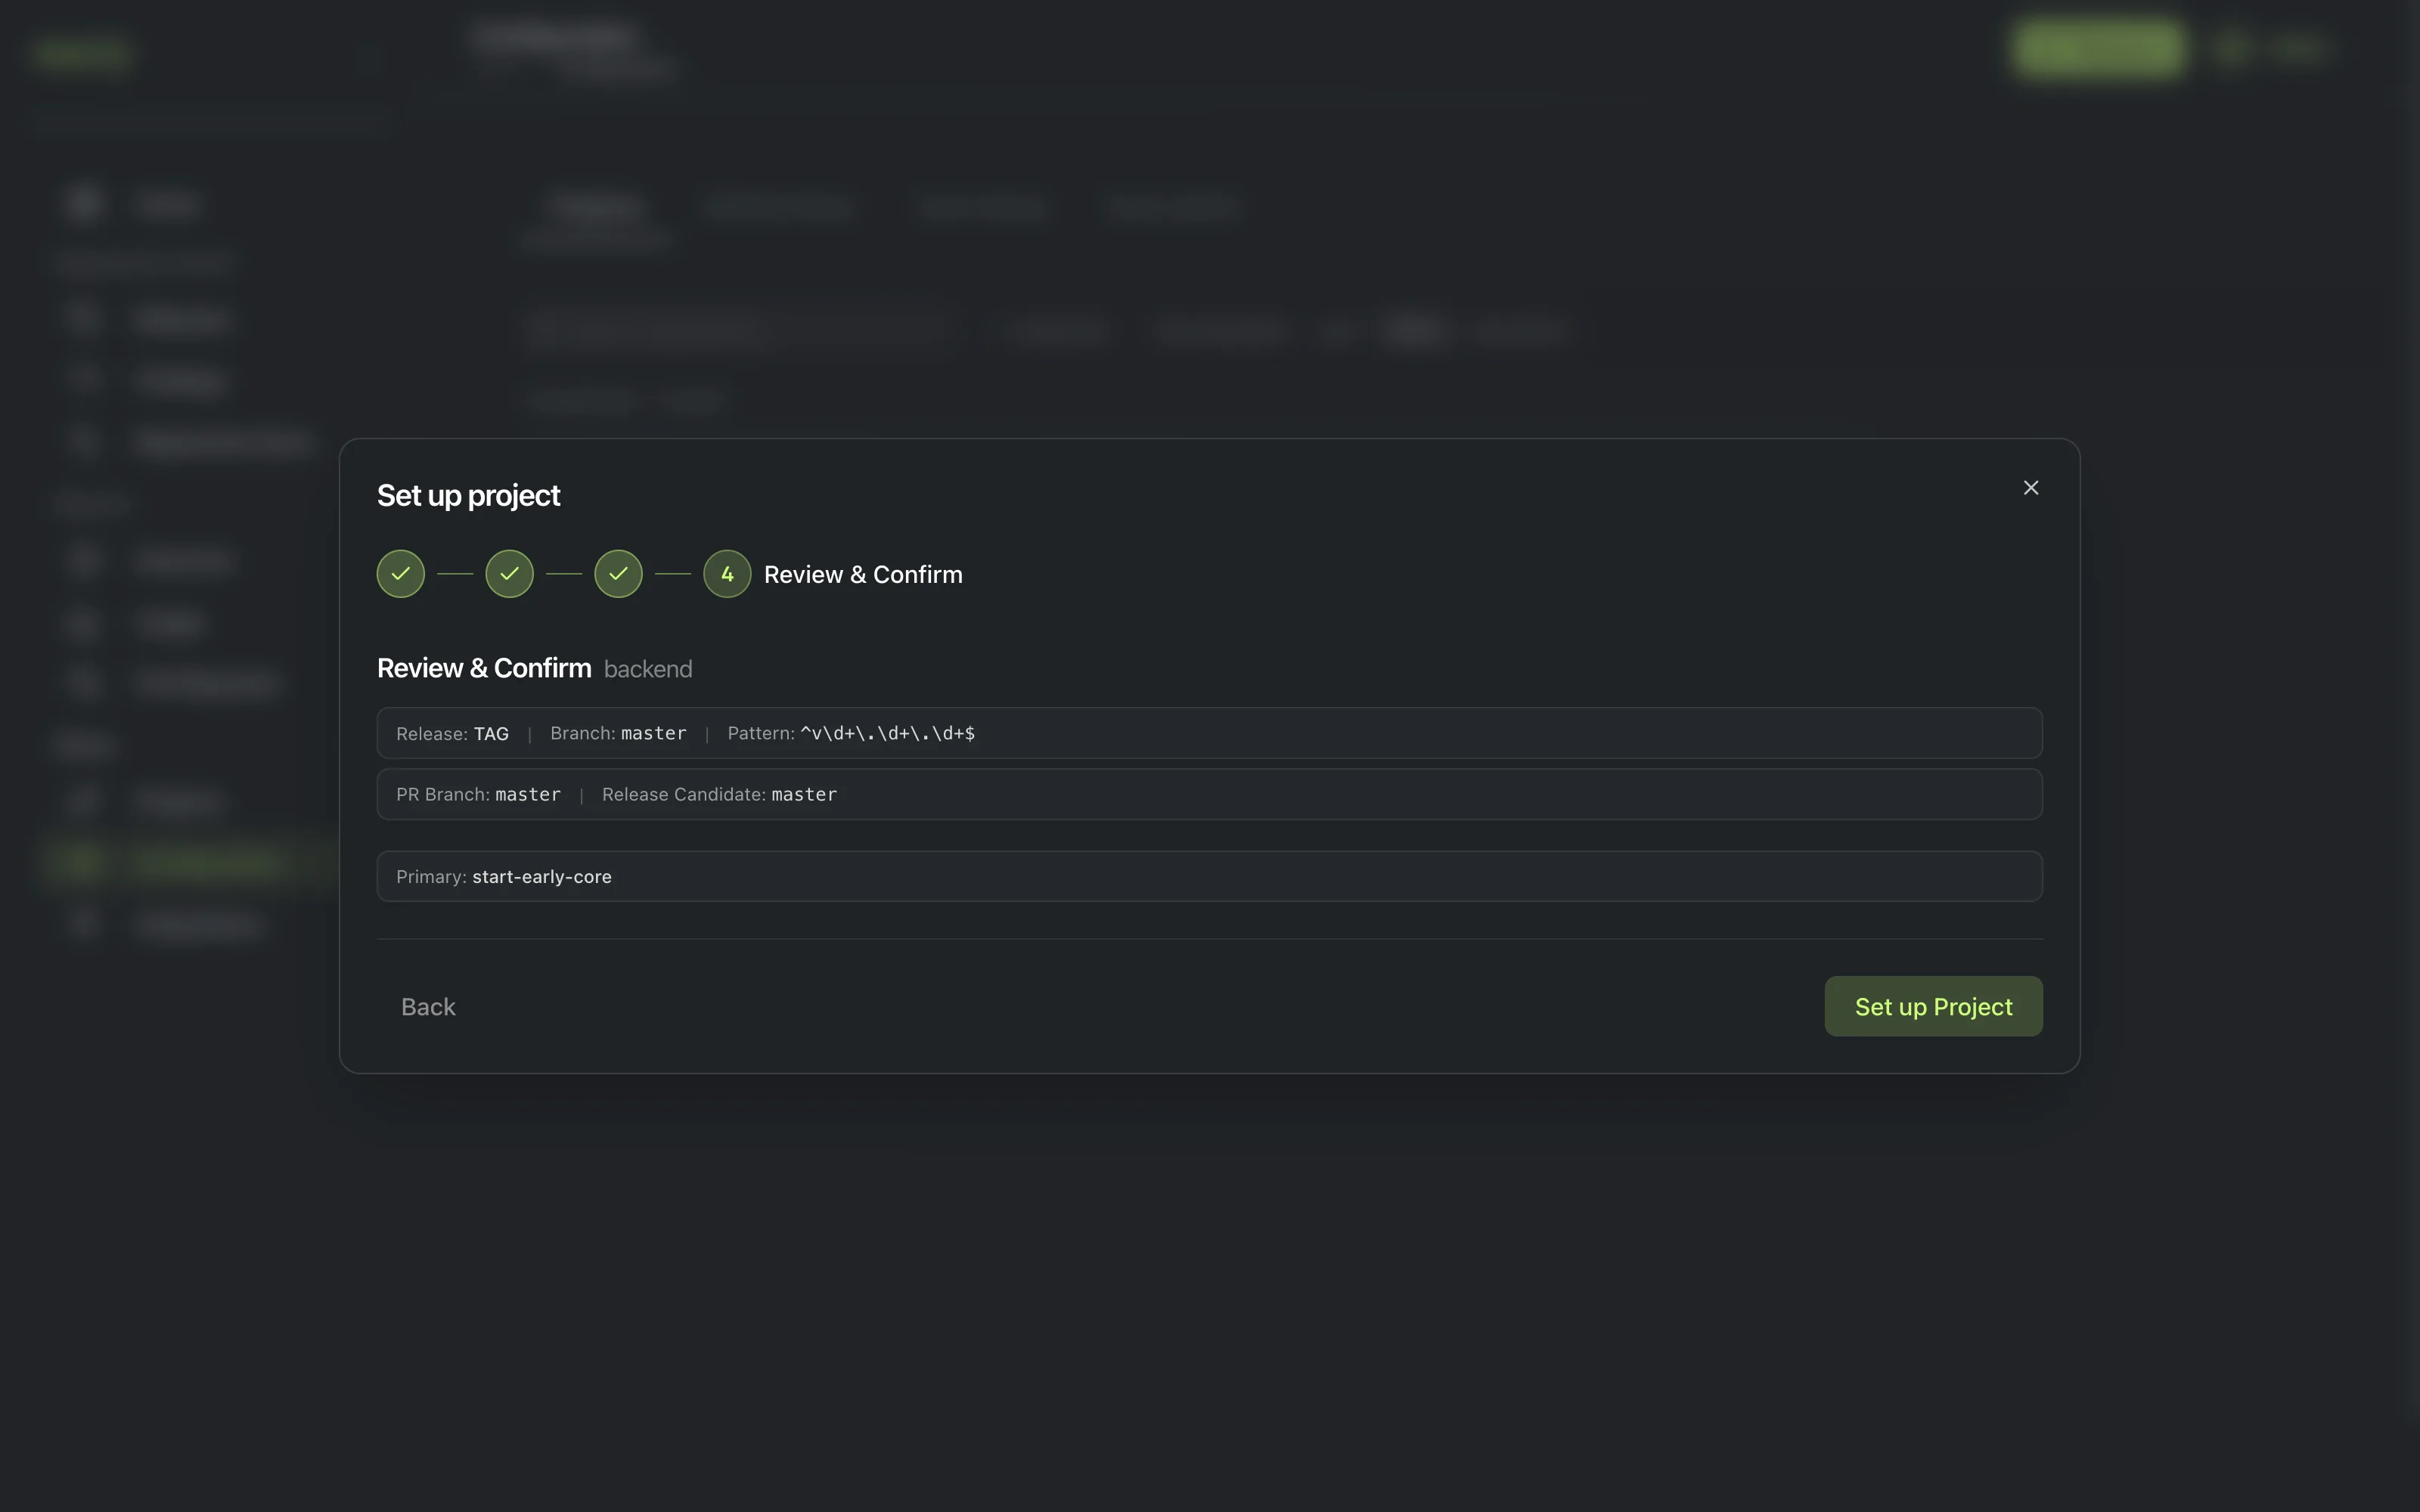
d. Review & Confirm. Review the choices from all three steps, then confirm to create the project.
Warning: the release-identification method is set once per repository, by whichever project is created first in it. There’s no screen to change it afterward. If a repository will host multiple projects, get this choice right on the first one. Every later project in that repository inherits it.
Checkpoint
The repository now shows at least one project, and mapping relationships becomes available once you have a second one.
Next
Map project relationships once you have a second project, or continue to adding a release candidate.